The finished DXpedition Amplifier
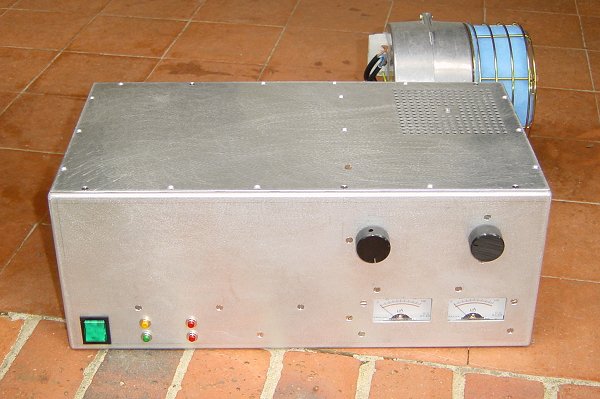
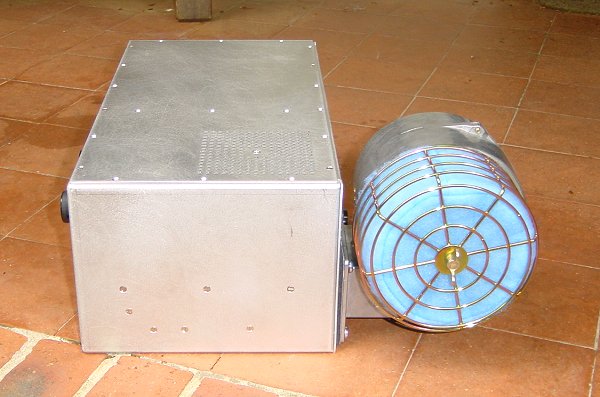
Front view of the finished amplifier with blower attached
- the blower dwarfs the amplifier! -
I was going to put a pair of handles on the front panel but I decided not too as they spoilt the look.
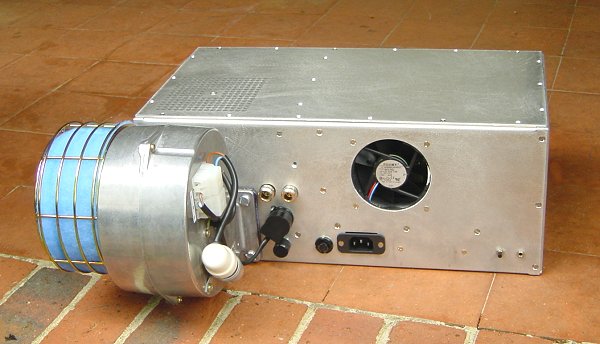
Back view of the finished amplifier
This one of my few screw-ups - the hole for the IEC socket was dimensioned for a 16 amp socket rather than a 10 amp socket! Oh well, can't get everything right.
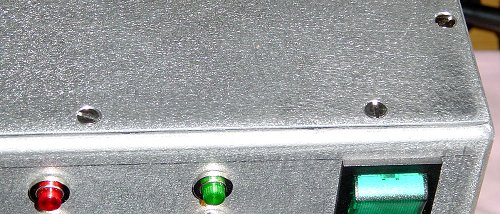
This is how neat the case looks when you have
it professionally made i.e. all the screws line up!
There is no way I could have made the case so accurately as the guys at ADD did!
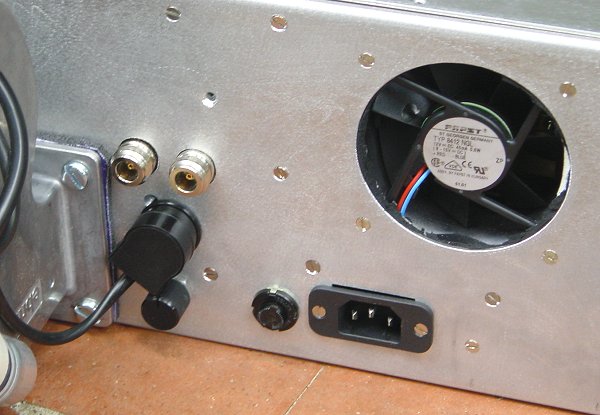
Close-up back view of the finished amplifier
Side view of the finished amplifier
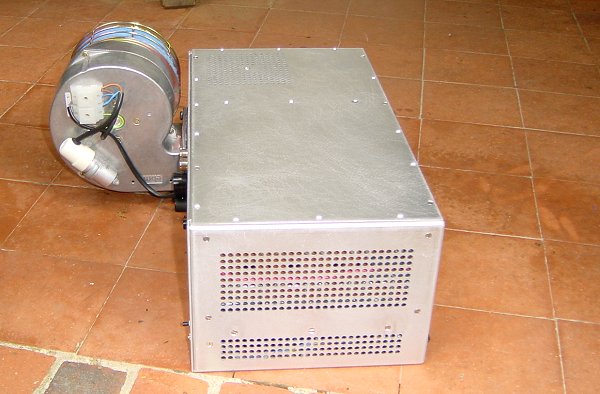
Side view of the finished amplifier
There is plenty of holes to allow flow-through of air in the top and bottom PSU compartments, but don't go sticking a screwdriver through the holes!
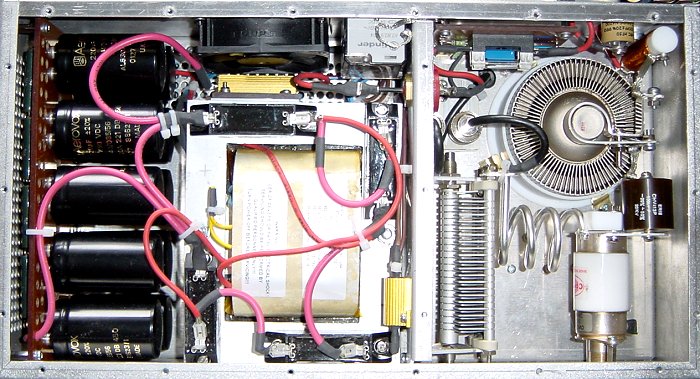
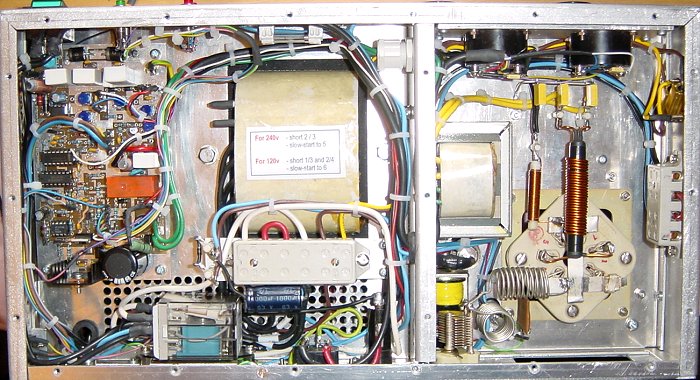
Top view of the finished amplifier
Bottom view of the finished amplifier